How to Carve a Pumpkin: Easy Step-by-Step Guide 2026
To carve a pumpkin, cut a lid from the top (or a hole in the base), scoop out the seeds and stringy pulp, draw your design on with a marker, then cut it out with a small serrated knife and drop a tea light inside. The whole job takes about 30 to 45 minutes, and almost everything you need is already in your kitchen drawer. Below is the full step-by-step, plus the pro tricks that stop your jack-o'-lantern collapsing or rotting before the 31st.
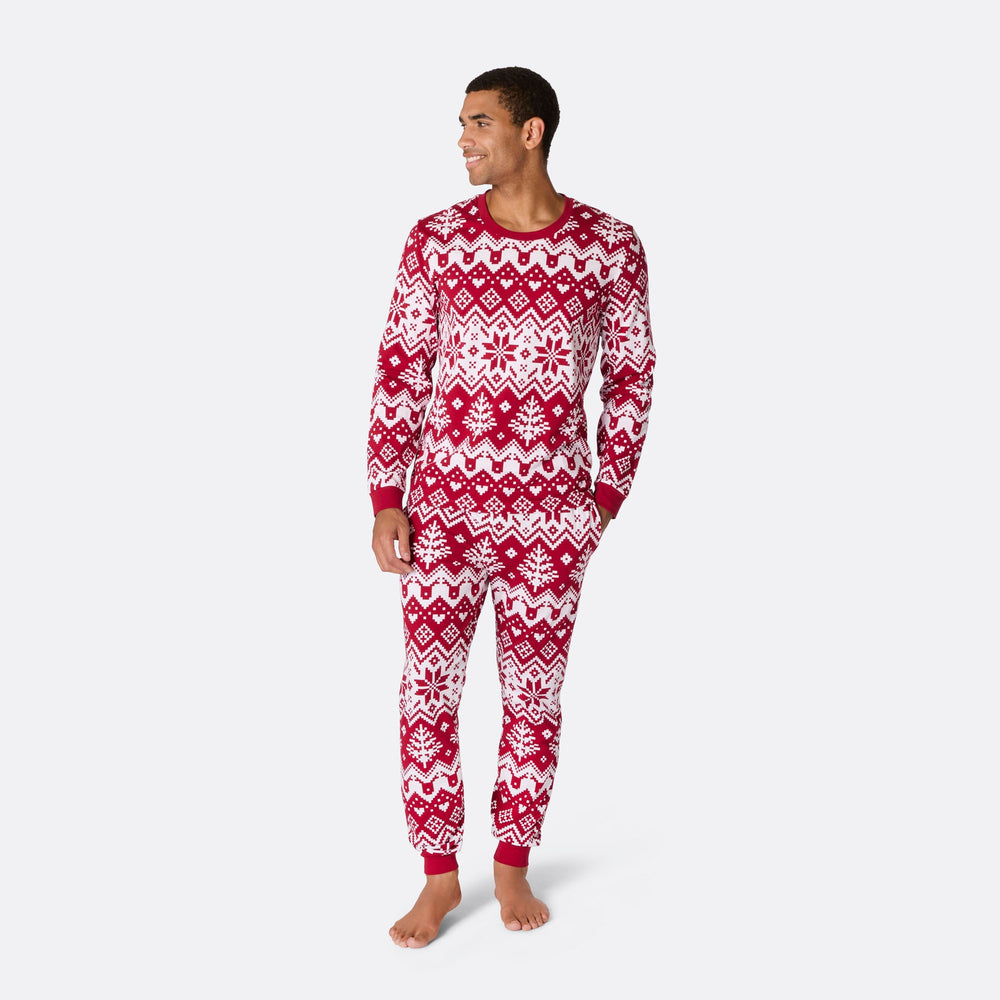
Pumpkin carving is messy, warm-and-fuzzy fun, so it pays to be dressed for an evening of scooping and sawing on the kitchen floor. A soft Halloween loungewear set keeps everyone cosy while the pulp flies, and it is the kind of activity the whole household can do together in matching kit.
What you need to carve a pumpkin
You do not need a shop-bought carving kit. The most useful tools are the ones already in your kitchen, and a sharp knife is genuinely safer than a blunt one because it needs far less force.
A small serrated knife or paring knife for the detailed cuts. These are easier to control than a big chef's knife.
A large chef's knife just for cutting the lid open.
An ice cream scoop or large metal spoon to hollow out the seeds and thin the walls.
A washable marker or dry-erase pen to sketch your face. Dry-erase wipes off with a damp cloth if you slip.
A big bowl to catch the seeds and flesh so you can cook them later.
A tea light or LED candle to light it up at the end.
Handy extras if you have them: an apple corer for neat round holes, metal biscuit cutters for clean stars and moons, and a potato peeler or lemon zester to shave the skin without cutting all the way through, which gives a lovely glowing, textured effect.
Pick a fresh pumpkin with a flat bottom so it will not roll as you work, a firm, sturdy stem, and no soft bruises or mould. A bigger pumpkin is easier for intricate designs because the walls give you more room to cut; a smaller one suits little hands and simple faces.
2. Cut the lid (or the base)
Using your large knife, cut a circle around the stem at a slight inward angle, about 45 degrees, so the lid rests on the rim instead of dropping inside. A small notch at the back makes it easy to line the lid back up afterwards. A pro tip from seasoned carvers: cut a hole in the bottom of the pumpkin instead. You then sit the hollowed shell down over the candle, which hides the cut from the front and makes lighting it far simpler.
Hauntingly cute
Men's Grey Teddy Bear Onesie
Soft, comfy and a touch wicked, Men's Grey Teddy Bear Onesie is the costume you will actually want to wear.
Scrape out all the seeds and stringy pulp with your scoop or spoon into your bowl. Then keep scraping the inner wall on the side you plan to carve until it is about 2 to 3 cm thick. Thinner walls are dramatically easier to cut through, and they let more light shine out. Do not bin the seeds, more on those below.
4. Draw your design
Sketch a simple face or shape onto the skin with your marker. If freehand makes you nervous, draw the design on paper first, tape it to the pumpkin and prick along the lines with a fork or toothpick to transfer the outline. Start with big, bold shapes; tiny fiddly details are hard to cut and harder to see when lit.
Once the lantern is glowing on the doorstep, get the family dressed for the night with our Halloween costumes and onesies, ready for trick-or-treating.
5. Carve it out
With your small serrated knife, cut along your lines using a gentle up-and-down sawing motion. Always cut away from yourself and keep your free hand clear of the blade's path. Tackle the biggest pieces first, then tidy the edges. Press the cut pieces gently inward to pop them out, and wipe off any leftover marker with a damp cloth.
6. Light it up
Drop a tea light or, much safer, an LED candle inside and pop the lid back on. If you use a real candle, cut a small vent hole in the lid so the heat and smoke can escape. LED tea lights are the better bet for a doorstep display, since real flames do not cope well with wind and rain.
Carving with children: keeping it safe and fun
Pumpkin carving is a brilliant family activity, but the cutting is a grown-up job. Let younger children scoop out the seeds with their hands, draw the design on with markers, and choose where the eyes and mouth go, while an adult handles every knife cut. For the youngest, skip the knife entirely and decorate the skin instead with paint, marker pens, googly eyes and stick-on shapes. A no-carve pumpkin lasts longer, wastes none of the edible flesh, and means nobody is left out. It is also a great excuse to get the whole family together in cosy matching loungewear for the evening.
How to stop your pumpkin rotting
A carved pumpkin only lasts a few days to a week before it starts to sag and rot, while an uncarved one can keep for a month or more. To buy yourself extra time, seal all the cut edges and the exposed inner flesh with a thin layer of petroleum jelly (Vaseline), which locks in moisture and slows decay. Researchers at Virginia Tech also recommend a short soak in a dilute bleach solution to kill the surface bacteria and mould that speed up rotting. Keep the pumpkin out of direct sun and bring it indoors or into the fridge overnight when you are not displaying it. If it does start to wilt, a soak in cold water can perk it back up for a few hours. Carving as close to Halloween as you can is the surest way to have it looking its spookiest on the night itself.
Do not waste the flesh and seeds
The insides are the best part. Rinse the seeds, pat them dry, toss with a little oil and salt or paprika and roast at around 170°C for 15 to 20 minutes until golden for a moreish snack. The flesh from an edible carving pumpkin roasts down beautifully into soups, curries, brownies and pies. For a cosy finishing touch on the night, sprinkle a little cinnamon around the inside rim before you light the candle, the warmth releases a pumpkin-spice scent through the whole house.
That is everything you need to turn a supermarket pumpkin into a glowing jack-o'-lantern. Lay down some newspaper, get everyone into their comfiest gear, and enjoy the messiest, most satisfying tradition of the spooky season.
Pumpkin carving at a glance
Carving a pumpkin takes about 30 to 45 minutes from lid to lit
Thin the wall you plan to carve to roughly 2 to 3 cm for easy cutting
Angle the lid cut inward at about 45 degrees so it rests on the rim
A carved pumpkin lasts a few days to a week; an uncarved one keeps for a month or more
Roast the seeds at 170°C for 15 to 20 minutes for a snack
Seal cut edges with petroleum jelly to slow rotting
Frequently asked questions about How to Carve a Pumpkin: Easy Step-by-Step Guide 2026
The easiest method is to cut a wide hole in the bottom of the pumpkin rather than the top, scoop out the insides, thin the wall you plan to carve to about 2 to 3 cm with a metal spoon, then cut a simple bold design with a small serrated knife. Thin walls and big shapes make the cutting far quicker and safer, and sitting the shell over the candle saves fiddling with a lid.
Cutting from the bottom is the choice most experienced carvers prefer. It hides the cut from the front, stops the top caving in, and lets you simply lower the hollow shell over the candle instead of reaching down through a small lid. Cutting from the top is the traditional method and works fine, just angle the cut inward so the lid does not fall through.
An uncarved pumpkin keeps for around a month at room temperature, and even longer if stored somewhere cool and dry. Once carved, it only lasts a few days to about a week before it starts to soften and rot, so carve as close to Halloween as you can.
Yes, it helps. Smearing a thin layer of petroleum jelly (Vaseline) over the cut edges and exposed inner flesh seals in moisture and slows the drying and decay. Keeping the pumpkin out of direct sun and in the fridge or somewhere cool overnight extends its life further.
Use a small serrated knife or paring knife for the design, and a larger chef's knife only to cut the lid open. A sharp knife is actually safer than a blunt one because it needs less force, so it is less likely to slip. Always cut away from your body and keep your free hand clear of the blade.
Children can help with everything except the knife work. Let them scoop out the seeds, draw the design with markers and choose the face, while an adult handles the cutting. For the youngest, try a no-carve pumpkin decorated with paint, pens and googly eyes, which is safe, mess-light and lasts much longer.