Decorating Easter eggs is one of spring's most rewarding rituals, and you only need a few simple supplies to get started: eggs (hard-boiled to eat or blown out to keep), a little white vinegar, food colouring or paint, and a spare hour at the kitchen table. Below you will find the classic dyeing method step by step, plus a stack of no-dye ideas, natural alternatives and answers to the questions everyone asks before they crack on with their first egg of 2026.
The very first choice is whether you want to eat your egg afterwards or keep it as a decoration. If you plan to display it for years, hollow it out first. Hold the egg over a bowl, poke a small hole in each end with a pin or an unpicker, gently break the yolk inside, then blow the contents into the bowl (save them for scrambled eggs or a cake, no waste here). Rinse the empty shell with a little water and vinegar and let it dry for a few hours before you decorate.
Cosy picks for a craft afternoon at home
1Kids' Pink HappyHoodie – a hooded jumper that keeps little hands free for painting while the rest of them stays toasty.
2Tiedye Pastel HappyHoodie – soft pastel swirls that suit the season and shrug off the odd splash of dye.
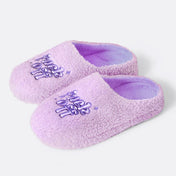
3Purple HappyHoodie – a snug grown-up layer for settling in at the kitchen table for the whole afternoon.
If you would rather snack on your creation, hard-boil the eggs instead. Boil for roughly 7 to 12 minutes depending on size, then cool them quickly in cold water. White-shelled eggs give the most vivid colour, but brown eggs take dye beautifully too and produce richer, earthier tones.
The classic dye method, step by step
This is the technique most British families grew up with, and it still gives gorgeous results. Here is how to do it properly.
Prepare the eggs. If your eggs carry a printed stamp, scrub it off gently with a little white wine vinegar. Want a hidden pattern? Draw a design onto the shell with a pale wax crayon first. Wherever the wax sits, the dye cannot reach, so your motif appears like magic once the egg is lifted out.
Mix the dye. In a large glass or tumbler, combine around 250 ml of cold water, one tablespoon of white vinegar, and 10 or more drops of food colouring. The vinegar lowers the pH so the colour binds to the shell. The more drops you add, the bolder the result.
Dip and wait. Lower each egg in with a spoon and leave it submerged for about 10 minutes, longer for a deeper shade. Lift it out, let it dry, then rub a tiny smear of vegetable oil over the surface and buff it off for a soft sheen that also helps lock the colour in.
Made for sunny mornings
Pink Stars HappyHoodie
There is something about Pink Stars HappyHoodie that just feels like the first warm day of the year.
Hard-boiled dyed eggs keep happily in the fridge until you are ready to display or eat them.
No-dye decorating ideas (less mess, more creativity)
Not in the mood for a bowl of dye? These methods are quick, child-friendly and largely mess-free.
Marker pens and Sharpie doodles. Draw faces, florals, polka dots or geometric patterns straight onto the shell with permanent markers. Pop a cress "haircut" on a marker-pen face for a giggle.
Decoupage. Cut shapes from patterned napkins or thin paper and seal them onto the egg with a thin coat of decoupage glue. Great for intricate looks without a steady painting hand.
Nail-polish marbling. Swirl a few drops of different coloured nail polishes across a bowl of warm water, then roll a hard-boiled egg through the surface to pick up a marbled finish. (Keep these for display rather than eating.)
Stickers, stencils and temporary tattoos. The easiest win of all for little hands, and a brilliant way to get toddlers involved without any paint on the walls.
Foil and metallics. A touch of gold leaf, metallic paint or rhinestones turns a plain egg into a tiny Fabergé-inspired treasure.
Once the table is set and the eggs are drying, round off the day with a little something from our Easter gift edit for everyone who joined in.
Natural dyes from your kitchen cupboard
For an eco-friendly, plastic-free finish, skip the food colouring and reach for store-cupboard staples. Boiling eggs with onion skins produces a warm golden brown, beetroot juice gives soft pink, red cabbage makes a surprising blue, and turmeric delivers sunny yellow. For a botanical print, press a small leaf or flower flat against the shell, wrap the egg snugly in a piece of old tights or muslin to hold it in place, then dye as usual. When you unwrap it, the plant leaves a delicate pale silhouette. This trick is centuries old: in the north of England the tradition of Pace Egging involved boiling eggs in onion skins to turn them golden, sometimes wrapping leaves inside to leave a patterned imprint.
A craft with thousands of years of history
Decorating eggs is far older than the chocolate aisle suggests. The oldest known decorated eggshells, marked with engraved hatched patterns, are around 60,000 years old and were found at Diepkloof Rock Shelter in South Africa. Orthodox Christians in Mesopotamia dyed eggs red to symbolise new life, while in Ukraine the wax-resist tradition of Pysanky produces astonishingly intricate designs. Britain has royal form too: in 1290 King Edward I had 450 eggs coloured or covered in gold leaf to give as gifts, and Henry VIII once received a decorated egg in a silver case from the pope. So when you sit down with your children in 2026, you are joining a line of egg decorators that stretches back across the whole of human history.
Make it a cosy afternoon
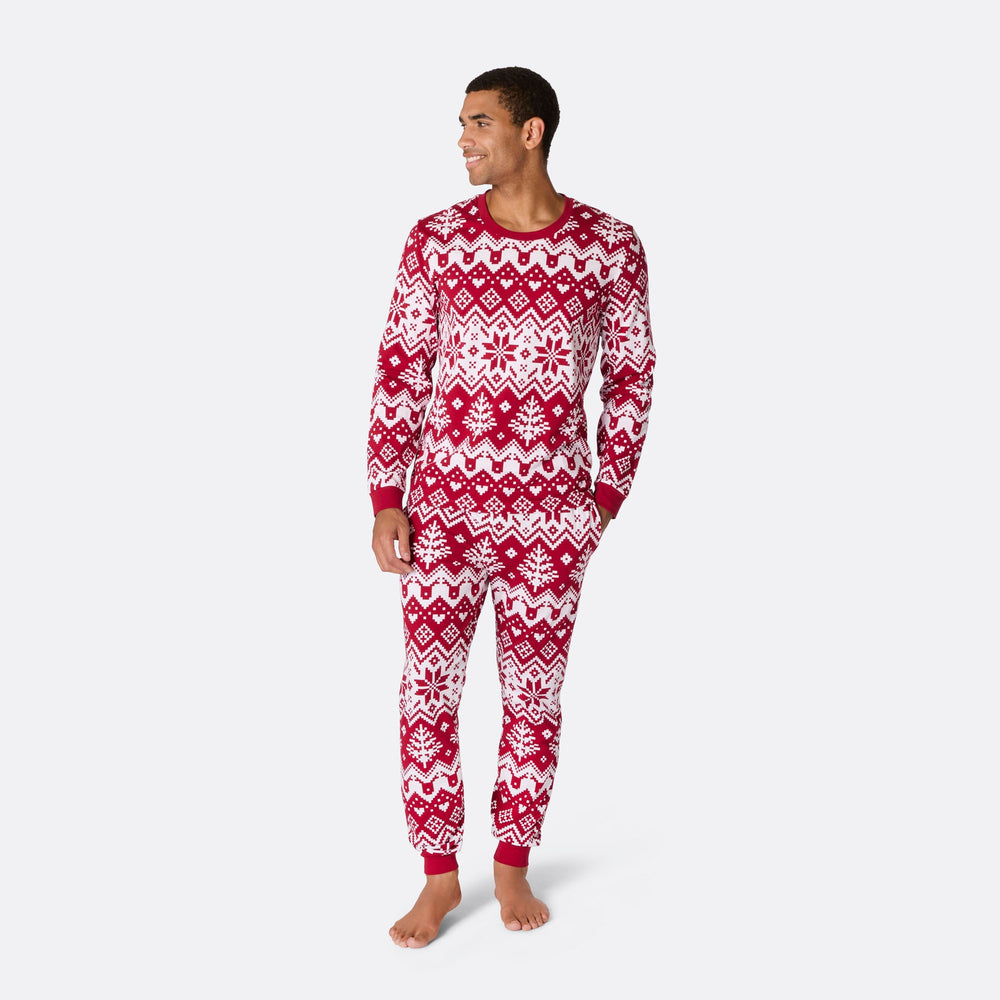
Egg decorating is as much about the time together as the finished eggs. Spread newspaper over the table, put the kettle on, and let everyone settle in for the afternoon. It pairs perfectly with comfy clothes you do not mind getting a stray splash of dye on, which is exactly why soft loungewear has become part of the ritual in many homes. If you are gathering the family for the whole Easter weekend, a set of matching Easter pyjamas keeps everyone snug from the morning egg hunt right through to the evening, and our kids' comfy wear is built for exactly this kind of relaxed, hands-on day. For the smallest crafters, a hooded kids' HappyHoodie means warm hands stay free for painting.
Displaying and keeping your eggs
Blown eggs last indefinitely if handled gently. Arrange them in a pretty bowl, nestle them into a moss-lined nest, or thread fine ribbon through the holes, tie a knot underneath and hang them from twigs to make an Easter tree. Save an egg box to store the keepers safely for next year. Hard-boiled eggs are best admired for a day or two and then eaten or composted, so plan your most ambitious designs for the blown shells you intend to treasure.
Easter egg decorating in numbers
The oldest known decorated eggshells are around 60,000 years old, found at Diepkloof Rock Shelter in South Africa.
In 1290 King Edward I had 450 eggs coloured or covered in gold leaf to give as Easter gifts.
The classic dye bath uses about 250 ml of water, 1 tablespoon of vinegar and 10+ drops of food colouring.
Hard-boil eggs for roughly 7 to 12 minutes depending on size before decorating.
Leave eggs in the dye for about 10 minutes for a vivid finish, longer for a deeper shade.
Only if you want to eat them afterwards. Hard-boil eggs for about 7 to 12 minutes, then cool them in cold water before dyeing. If you want a keepsake that lasts for years, do not boil them at all, blow the contents out instead and decorate the empty shell.
Almost anything craft-friendly: food-colouring dye, acrylic or poster paint, permanent marker pens, stickers, temporary tattoos, decoupage napkins, nail polish for marbling, and pressed leaves or flowers for natural prints. Metallic paint, gold leaf and rhinestones give a luxe, Fabergé-inspired finish.
Plain white vinegar is the standard choice because it is cheap and widely available. About one tablespoon stirred into 250 ml of water and your food colouring is enough. The vinegar's acidity helps the dye bind to the shell for brighter, longer-lasting colour.
Start with a clean, dry shell, wiping off any printed stamps with a little vinegar. Acrylic paint adheres well to eggshell; a thin base coat of white first makes other colours pop. For dye, the vinegar in the mix is what helps the colour grip the shell.
Reach for no-dye methods. Draw designs with marker pens, stick on stickers or temporary tattoos, wrap eggs in patterned napkins with decoupage glue, or use stencils. These are quick, child-friendly and keep the kitchen table clean.
Blown, hollow eggs last indefinitely if you handle them carefully and store them in an egg box. Hard-boiled decorated eggs are best displayed for a day or two and then eaten or composted, so save your most detailed designs for blown shells.